Monday, September 6, 2010

Pre-fitting float halves


At last, we have two float halves arranged as a whole float hull.  This is a view from the stern looking forward of the second and third halves in preparation for bonding.  The initial fit is good, accounting for the natural springy-ness of the hull out of the frame.  We will need to use some blocks and screws to hold the halves together at the seams when we apply the epoxy putty.

Here's a view inside the aft end showing the aft bulkhead.  I had pre-trimmed the bulkheads on the second half so putting these halves together will be easier.  I will have to trim the bulkheads on the first half we built (still on the storage rack) prior to joining to the fourth half (yet to be built).  You can see the fit of this bulkhead is very close to perfect with no extra trimming.  The forward bulkhead needs a little additional trimming, but not much.  I think the shroud bulkhead (in the middle) is pretty close also, but I can't see it very well.  We will spend some time cutting out the access holes in the deck (to the right in these photos) so we can fillet and tape the bulkheads, keel, and deck seam.  Should be fun trying to work through 6" diameter holes.

Saturday, September 4, 2010

Prep for glass works

Once again, it's time to glass the inside of a float half, this being the third half.  We prepped the foam core by trimming the edges, grating off all glue overflow from the seams, patching all screw holes and any other imperfections with epoxy putty, and sanding the entire surface.  It is very fair, no doubt thanks to Catherine's skilled effort.  We also marked the surface with the placement of the stiffener and the trim pattern of the stern.

Then we were ready to cut all of the glass fabric to size.  Here you can see all of the pieces of glass neatly laid out on the workbench. I mark the pieces with sticky notes to help avoid confusion when we are trying to race the epoxy kick time.  On the first hull half I marked the pieces with a marker, but the ink bleeds in the epoxy and makes a mess.  Sticky notes help keep things neat (assuming I remember to take them off before applying epoxy).  I write out the order that we apply each piece of glass to allow sections to start to cure before applying additional reinforcing, and to keep track of what layer goes on top of the others.  The result is a neat and shimmery glass job with minimal curses.  You can also see my respirator mask for mixing microballoons.  Definitely a requirement for working with microscopic glass balloons that tend to spontaneously evaporate like a cup of dry ice.

Here's a picture of Catherine explaining how the halves will be combined in to a whole float hull.  Either that or she saw a cool bug walking around up there ...

Dawna had to help a friend, so I only had her expert help for the first half of the glass work today (the nice half you see here).  I did alright though, after carefully studying her technique, not that I'm going to show you.  Trust me, my part looks almost as good as her half.

Actually, it all turned out very nice, though my epoxy decided to kick half way through the fifth section, which required some quick mixing and extra effort working in the new batch.

Sunday, August 29, 2010

Catherine the shipwright


Here's Catherine hard at work on the third float half.  She planked the entire half in just one weekend.  And it looks great.  I think each half gets better.


But don't get in her way when she is on a roll, she is a woman on a mission ...
Catherine has a critical eye for quality control.  She inspected each plank to ensure it conformed to the form frame, per the designers specs.

A job well done makes you feel good inside.  Catherine will finish removing the clamping squares at the ends during the week.  Then we can clean the seams, patch the million screw holes with epoxy putty, and trim the edges.  Next weekend we will glass this half.  Then we will be ready to join the two halves together.  At last, a new task.

Sunday, August 22, 2010

That's a nice rack ...

As planned, we removed the port side float hull from the form frame.  It looked very good in general.  Planking was very fair, except for some areas at the aft end in the tight bend from side to deck.  I have some ideas for improving the quality of the bend that I will try on the next half.  In any case, it will be a very nice hull with minimal fairing required.

Here you can see the port hull in storage on a new set of racks I built on Friday.  I attached these racks to the table and toaster oven, so it was quite easy and quick to finish.  The boat house is starting to fill up, maybe I should have gone for the 22' wide building instead of the 18'.

We spent some time looking at the quality of both hulls and finally decided not to rebuild the first half.  Although not quite as fair as the second half, it is still quite good and I don't think it will take too much filler to make it fair.  And I think both halves have very good structural integrity.  The only thing I am particularly disappointed with in the first half is some sloppy lay up on the gussets at the forward bulkhead.  We also weighed each hull and found they were within a pound or two, at about 40 lbs each.  So that was something of a relief, and we won't have to worry about heeling to starboard.

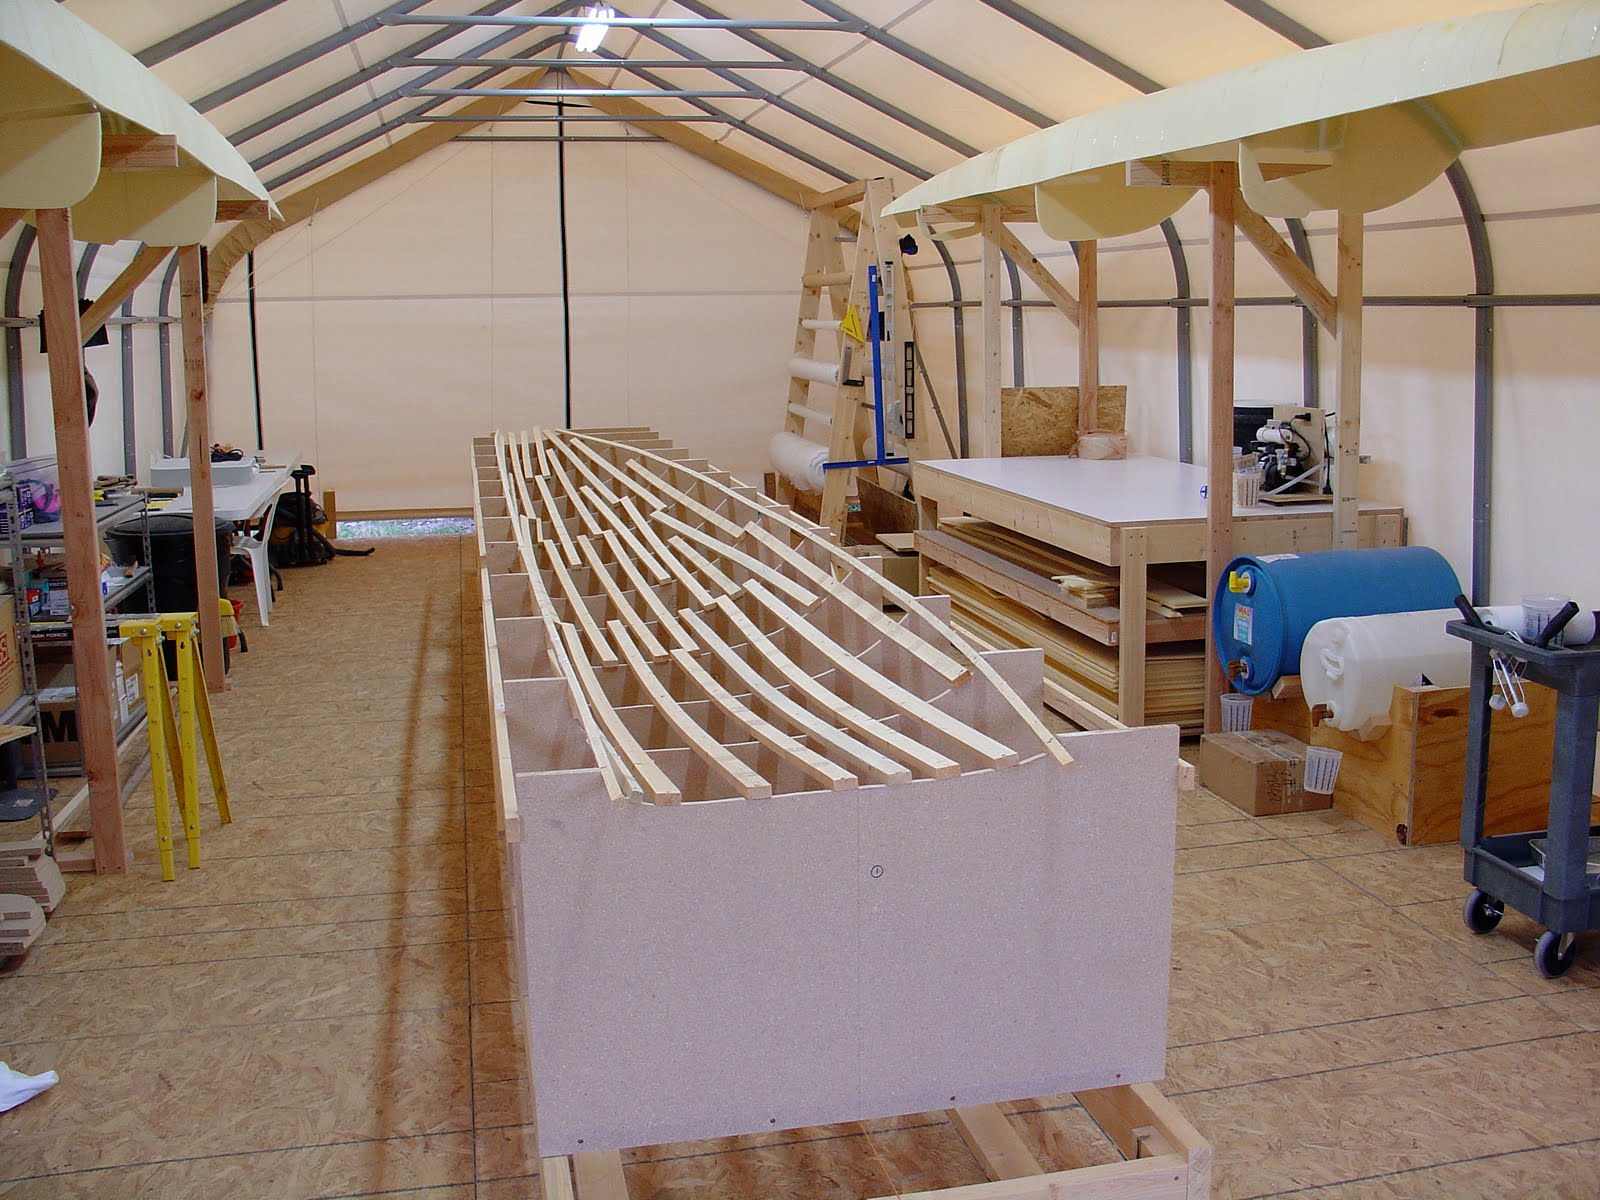
So, with that decision made, we are moving on to the next step in the float construction.  Namely, we reversed the form frame so we can start the other two halves.  I know, looks a lot like the previous form frame.  In any case, I was afraid it would take several days to finish putting the frame back together, but it went much quicker.  I was able to finish it in a day, and I even added a few extra battens to the form.  So now we can start planking the third half.  The schedule is to have the third half planked by next weekend, and glassed the following weekend.  Then we will be ready to mate the first two halves into something that almost looks boat-like.  So exciting times soon to come.

Sunday, August 15, 2010

Gussied up gussets

After the fillets set for about an hour, they were stiff but still not fully cured, as desired for a stronger bond.  So we got to taping the bulkheads in permanently.  Here you can see the result.  Dawna did one side while I did the other, so we made good time.  Of course, the temperature in the boat house got into the high 90s, so in spite of the "slow" epoxy, we still had to race to keep up with the cure time.  We tended to finish a bulkhead, but then the left over epoxy would kick and we would have to make a new batch for the next bulkhead.  By the end of the day, we had big thunderstorms move through which dropped the temperature about 20 deg.  As a result, the last batch is still slightly tacky many hours later.  Notice that we remembered to make this a port-side float, as determined by the direction of the beam cutouts.

The real challenge for the day was installation of these gussets on the forward beam bulkhead.  You've seen them before, but these turned out much nicer than my earlier attempt.  Again, the "Epoxy Maestro" applied her touch and the results are a very high quality installation.  Actually, even the maestro was getting a bit frustrated on these evil reinforcing elements.  The filleting was very frustrating do to the lack of a solid support for the gussets.  A jig may be needed next time.  And the glass work is much more complex than any of the other components so far.

Nonetheless, we took as much time as the temperatures would allow and worked it all smooth.  The result is pretty good.  Glass strands are nicely aligned (mostly in the desired directions), excess epoxy was kept to a reasonable level, and the gussets are generally square and aligned.  As noted above, the last batch of epoxy was applied after temperatures dropped a good 20 deg. while glassing the gussets.  As a result, the gussets are still a little tacky five hours later.  They should harden overnight and the return of high temps tomorrow should make the boat house a nice post curing oven.

Only thing left to do is to clean up the excess glass at the ends of the seams and in the beam cutouts.  Then we can pop this half out of the frame, clean up the outer surface, and make a final determination if we should rebuild the first starboard float hull half.  This should be done in the next day or two, depending on how I feel after I get back to the day job.  All in all, we finished this half in two weeks (actually three weekends), which was my goal.  This rate should put us on schedule to finish the float hulls by the end of October ... trick or treat!

Fillet or filet?

We are now preparing to install the three bulkheads.  We vacuum bagged the fitted bulkheads to make a very high quality lamination.

Here you can see the fillets made from a putty of epoxy and microballoons.  If you recall the last time we attempted this, I did the filleting with mixed success.  This time I handed over the task to the "Epoxy Master."  And sure enough, she's a natural at this.  This time we started by filleting all three bulkheads in place and then let the epoxy start to set before taping with 4" biaxial glass.  This made the process go much smoother.

A good mix for putty that does not sag is 1/4 cup balloons for every 25 ml epoxy mix.  You have to add the balloons slowly to mix smoothly and avoid turning the balloons into a dust storm.  Don't even think about doing this without a decent dust mask or respirator.  The balloons tend to get electrically charged and are very small (hence the name "micro" balloons).  The slightest disturbance tends to send them airborne.  In any case, this mix makes a very dry putty that can be molded by hand and doesn't slump.

Here you can see one of the jigs I made to hold the bulkhead in position during installation.  It is critical that the cutout for the beam be positioned correctly.  The reference marks in the top photo are only barely visible, so trust me, I very carefully laid out the jigs so I could attach the bulkhead in the correct position to within a millimeter.  We'll see if I met the goal in a few months when we install the beams.  I made a jig for each bulkhead.  We  leave the jig on until the first layer of glass tape is applied.  Note the cuts in the jig to allow access around the entire join.

Monday, August 9, 2010

Ahh, shimmery ...

This weekend we finished glassing the inner surface of the latest hull half.  It turned out spectacular, as you can see in this photo.  Notice how shimmery it is.  Dawna did all of the work of applying the glass while I assisted by mixing batches of epoxy and squeegee-ing off the excess from the previous sections of glass.  Dawna is really good at this, so I was more than happy to stand back and watch the master at work.  The surface is completely uniform, with basically no excess epoxy.  And the very fair foam planks help too.  All glass strands are properly aligned, with no glass spaghetti, and the edges blend together cleanly at the overlaps.

You will note the satiny stiffening stringer structure (say that 10 times fast) in the middle of the forward nine feet of hull.  It is particularly tedious to get the multiple layers of glass to lay tight and fully bonded with no voids.  Dawna and I worked together for a good hour going back and forth on the stringer repeatedly pressing the layers back down until it all kicked and solidified.  The first time I did this on the previous hull it came out pretty good. This time, with Dawna applying her magic touch, the result was much cleaner and I have not found any voids or bubbles.

So guess who gets to do all of the glass work in the future?

Here's a bug eye view, okay maybe a mouse eye view, of the glassed surface with the stringer running down the right hand side.  Notice how the glass warps (bundles of glass strands) line up uniformly.  Maybe it is just me, but I find this very exhilarating.

So now we will get ready to install bulkheads next weekend.  I bet Dawna will be a natural at that too!