Sunday, September 25, 2011

Laminated port float

 This was a very productive weekend as we glassed the port float.  Here are a couple of views of the fully glassed hull with reinforcing along the side.  Dawna had to help a friend on Saturday, so I laminated the outboard half by myself.  I found that I could laminate approximately a meter of hull in 30 minutes with 600 mL of epoxy.  Final score: 4 hours of epoxy work and three bubbles.  Dawna and I did the inboard half together at a rate of about 20 minutes per meter with 600 mL epoxy.  Final score: 3 hours and no bubbles!  It is very difficult to see air bubbles under the saturated glass fabric, and my crappy eyesight doesn't help.  The bubbles are easy to repair, so no big deal, but I much prefer a perfect lamination.  The stern end is another tricky spot due to the point.  I think I laminated it three times on the starboard float before I got it right.  It is easy to sand through the glass, and the fibers tend to not stay where I put them resulting in air gaps in the lamination.
The laminated hull is very fair, so I don't think I will need to do too much tweaking.  We will skim coat the entire hull once the bow is installed and the various reinforcing patches are laminated.  But I am hoping for minimal sanding aside from the initial skim coat.  I hope to attach the bow cap and add the reinforcements next weekend.  Of course we only have a couple of weekends left in the sailing season, so we might head to the lake for a daysail.  Sounds like another busy weekend coming up ...

Friday, September 16, 2011

Keel'd over

 We finished fairing and sanding the outer side of the float with a single pass of putty.  I must be getting better at applying the fairing putty because it only took about an hour to fully sand the float, and very little putty was sanded off.  Next we flipped the float over to work on the keel.  Here you can see how we supported the float with a couple braces on each side.  Bracing the hull like this made it much easier and quicker to grind down the keel.  Once braced, it took about an hour to form the keel with the belt sander and the 30" fairing board.  The black "handles" sticking out are actually pieces of insulating foam so I don't impale myself on the protruding braces.
 After fairing the keel, I carefully inspected the entire hull (except the deck) and filled any remaining imperfections, open seams between foam planks, screw holes, etc.  I only used a single batch of putty (150 mL epoxy + 1.25 cups microballoons) for the entire hull.  It should take a very light sanding with the fairing board to fair these patches.  Once the putty cures, I'll sand the keel and lower hull.  Then we will turn the hull back on to its side and finish sanding.  After that, we will be ready to laminate the outer surface with 18-oz. glass.
After I finished the last patches, I prepped all of the glass fabric.  The big rolls are the 18-oz. glass that will cover the entire hull.  There are also several smaller pieces used for reinforcing the hull in key areas.  I am excited to get the hull laminated for the sense of progress it provides.   Of course after laminating, we skim coat it with fairing putty and I am back to fairing.  At least the cooler temperatures make the work more pleasant.  And we are close to moving on to the main hull!

Monday, August 29, 2011

Fair play

We finished initial fairing of the deck with two passes of filling and sanding.  I suddenly recalled why I don't enjoy sanding with the long board around 25% through the second pass when I blew out a lung (okay not really, but it felt like it).  Luckily Dawna came to my rescue and helped finish fairing the deck (she's such a stud!). Then we rotated the hull to work on the outer side of the hull.  Although this half wasn't exactly the best half at the deck level, it is nearly perfect below deck.  So rather than making a lot of extra work, we filled a few areas that needed some help and left most of the side untouched.  I figure I will take care of the very subtle waves between foam planks when I skim coat the glassed hull in a few weeks.  Hopefully I will only need one pass for the few areas needing attention.  Then we will flip and repeat on the inner hull side.

Saturday, August 20, 2011

'Fair thee well ...'

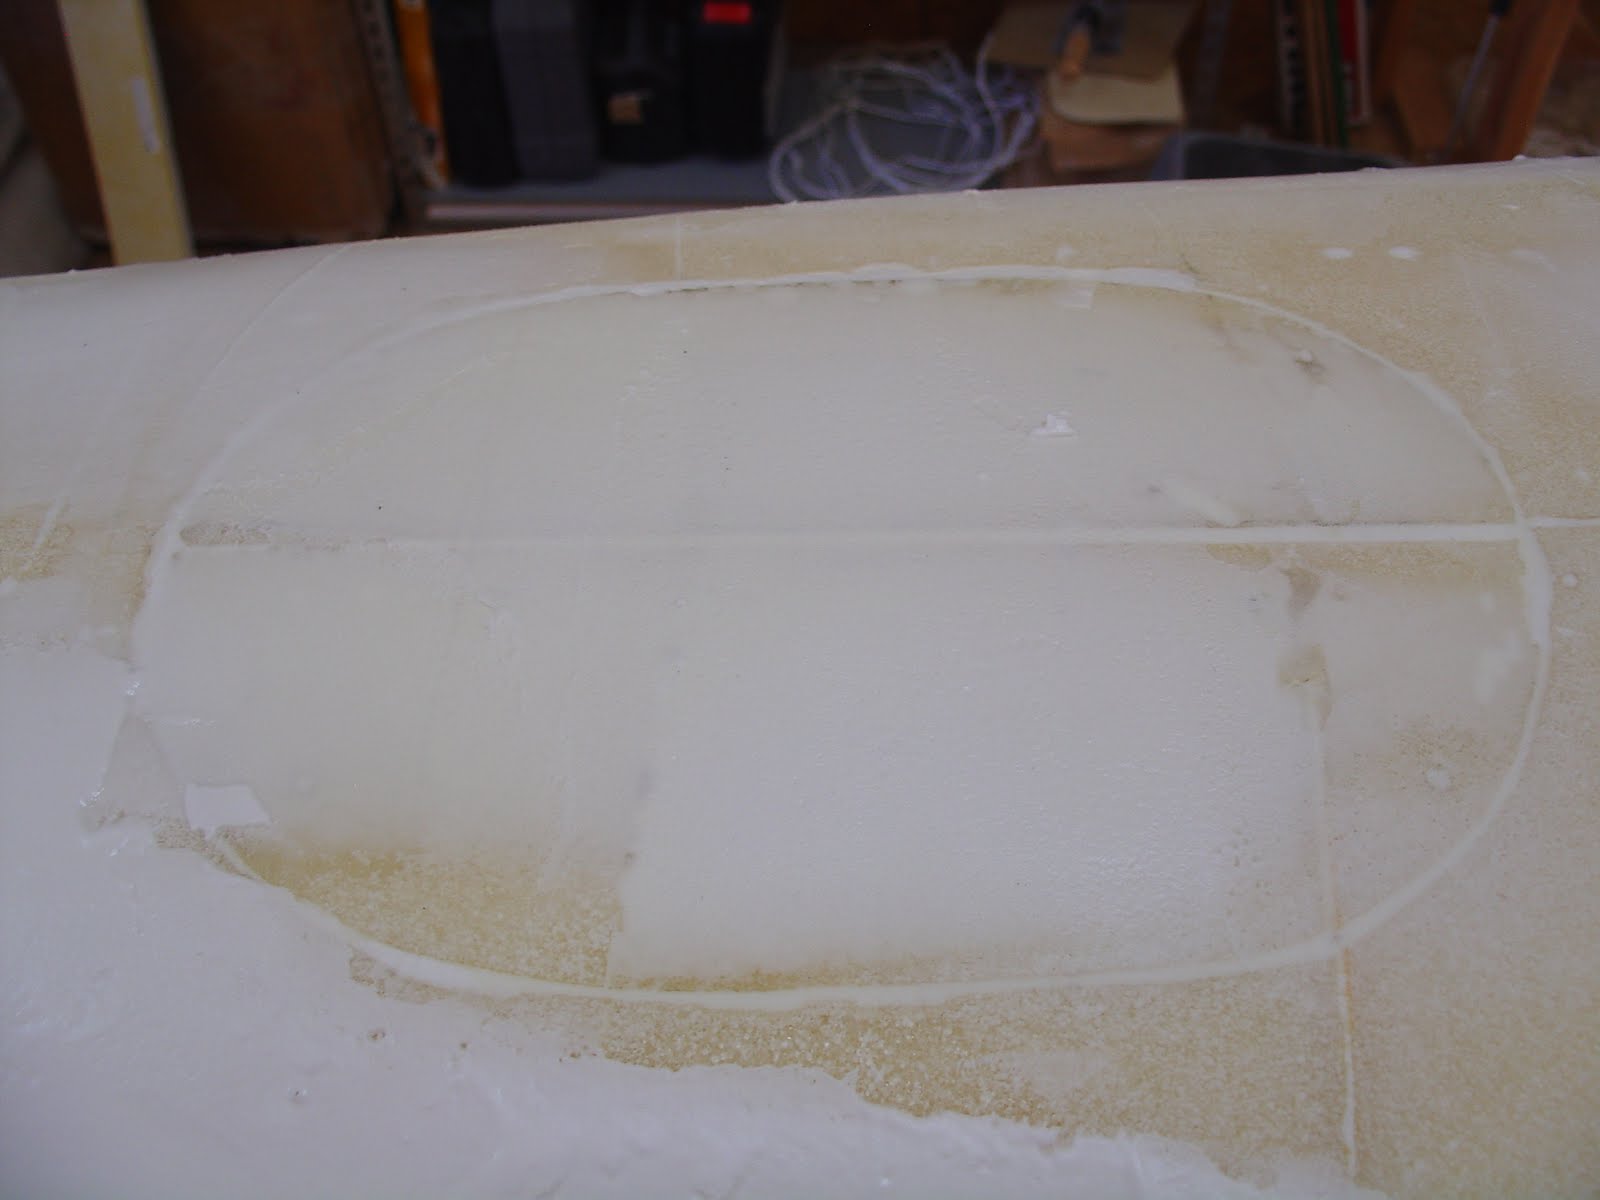
 We finished closing up the port float hull by permanently installing the forward access port.  I had to redo the glass backing flange because the first one wouldn't allow the insert to sit flush with the outside of the hull.  So I cut it off and tried again.  As you can see in the photo, the second time was the charm and the insert is very flush.  The extra filler on the insert is part of the first steps in fairing this hull.
If you recall the last time I faired a float hull, I started by striping the hull with putty using a notched squeegee.  Sanding down the stripes revealed high and low areas.  I decided to try a different approach this time in an attempt to minimize my pain and suffering.  Note that we already filled all of the holes and seams in the foam.  I started by sanding the foam with my 60" long fairing board.  The high spots tended to get sanded down while the low spots were left untouched.  I didn't go too far with the sanding, just enough to show a distinction between high and low areas.  We don't want to remove too much foam since the thickness of the foam core is important for maintaining the stiffness of the structure.  Once I finished sanding the deck, I started building up the low areas with a light filler putty (150 mL epoxy + 1.25 cup microballoons).  After the filler is cured, I will go over it again with the fairing board and repeat.  I hope to need only two passes with the filler and fairing board to achieve a reasonably fair hull.  I am also going to finish fairing the deck before we roll the hull to one side, and then finish that side before rolling to the other side.  This should reduce the time spent sanding, filling, and rolling.

The outer half of the float (right side in the photo) was the second half we made, oh so long ago, and the first made with the heat gun.  Apparently I had some learning to do because the bow end needs some work to equal the fairness of the inner half.  In any case, I am building some areas up with multiple layers of putty, otherwise the putty tends to sag.  This makes it even more important that we keep the putty mixture light.  Luckily, only the curve from the hull side to the deck in a section about 18" long (shiny area in photo) is significantly out of fair.  The rest of the hull is typical (at least typical by my standards), requiring only skim coats of filler in scattered areas, mostly along the seams.  I'll let you know how this approach to fairing works in my next post.

Sunday, August 14, 2011

Sealing up the port float

 We finished all of the interior tasks and just about finished closing up the float.  Here is a shot of the bow after it was closed up and trimmed.  This means we are close to warming up the long boards again.
 Here is a view of the bow from the inside.  If you compare this to the similar photo of the starboard bow you will note that this one is much neater with less excessive putty.  Not sure it matters to anyone but me since no one really ever sees the inside of the bow.  But it makes me feel like I am doing a better job when it looks neat and professional.  In the upper right next to the bow plate you will also note a lump, which is the threaded backing plate for the bow eye strap laminated to the hull.
We also trimmed the stern plate in preparation for fairing.  A sailor walks into a boat house and says to the shipwright "You've got a nice aft!"  Sorry, I had to say it!  It is hard to see, but we also finished filling all of the holes left over from forming the foam core and the seams between foam planks.  To aid in fairing, I also closed up all of the ports with the cutouts.  Nothing new, same process as with the starboard float.  I like to think it went a little quicker and turned out a little better.
The last port to close up is the forward temporary access port used to install the bow compression beam.  We are done with it, so we are closing it permanently.  This is a little tricky because we can't get to the interior to tape the inside of the port.  In the photo the cutout is epoxied to a piece of bi-directional glass.  This is cured on the float deck to take on the form of the deck so it fits the contours of the opening better.  Once it is cured and trimmed, I'll apply some thin epoxy filler to the glass flange and pull it up against the inside of the opening to cure.  This worked on the starboard hull but wasn't pretty.  Hopefully this one works as well and maybe looks a little better.  Of course, from the outside, it gets faired along with the rest of the hull and disappears.

Sunday, July 31, 2011

More progress on port float

 It was a productive weekend on the port float.  When working on the starboard float we had to make each of the bits to finish up the float, which took some extra time.  Smartly (okay, it was mostly Dawna's idea), we made two of everything so we would be ready to go on the port float without delay.  Here is a view looking forward of the bow compression member that we made months ago taped in place.  As with so many tasks on the float interiors, the compression member had to be taped in place working through a small access port.  Thankfully, Justus von Liebig invented the silver-backed mirror in 1835 so I could see what I was doing!  Now I can seal up the access port and be that much closer to a date with a fairing board.
 We are getting close to sealing up the bow of the float.  I trimmed the bow and prepped the edge for the bow end plate.  I just need to install the backing plate for the bow pad eye and we'll be ready to close her up.
 I also trimmed the stern and sealed it up.  Taping the inside stern seam is also an adventure in frustration.  Patience is a virtue, but cursing and throwing things makes me feel better ... okay it wasn't quite that bad.  But it does take some patience to reach in, make an adjustment, then move my arm out of the way to see if I did what I thought I did.  In the (stern) end, the tape was smooth and nicely laminated.  I still need to trim the plate to match the hull, but I'll wait until the tape is fully cured.  And we are ready to temporarily close up this access port as we prepare for fairing.
While waiting for tape to cure, I finished installing the high-density inserts that will later support rigging hardware.  As with the starboard float, I carved out the standard-density foam core to match the inserts, bent the inserts to match the hull form, applied a thin epoxy filler to fill any gaps and adhere the inserts in place, and applied pressure to force out any excess filler.  For the larger inserts on the deck I applied continuous pressure by balancing some weights on the inserts until they cured.  One more weekend and we should be all closed up and ready for "The Board!"

Sunday, July 24, 2011

Port float inside keel seam (here we go again...)

 Well, here we go again with the final interior tasks on the port float this time.  You can see the completed starboard float on the storage rack.  Thanks to our neighbor Quinn for helping me lift it up there.  We estimate it weighs about 150 lbs, so a little much for Dawna to lift.  In any case, we   started finishing up the inside tasks on the port float beginning with taping and sealing the keel seam.
We followed the same basic steps to tape the keel seam.  First I mixed a thin epoxy putty with some cabosil for extra strength and low viscosity (150 mL epoxy + 1 cup microballoons + 1/4 cup cabosil).  I poured this mixture along the seam to form a fillet.  This went fairly smooth with less clean up than last time.  However, the higher temperatures of summer make the putty kick that much sooner, so I came close to disaster trying to finish cleaning up stray and excess putty.  After initial cure, Dawna and I laid in the glass tape (and boy are we itchy!).  We forgot how much fun it is to work through 6 inch holes on a seam we can only reach with brushes on sticks!  Then I went back and coated the tape with a second layer of epoxy to help ensure we have no leaks when the float goes in the water.  This is a view looking in the hatch opening of the finished seam in the midsection of the float.
Here is a view looking into the open stern.  If you look closely, you may notice the drain hole in the bottom of the aft bulkhead.  This hole is a real hassle when trying to get the tape on either side to pass through and overlap without blocking the opening.  With some patience, and trimming the ends of the tape to fit, I was able to fully glass the seam through the hole.  With the seam complete, I will now work on trimming the stern and closing it up with a plate I made earlier.  Feels like deja vu all over again!