We glued the high-density (HD) inserts into the holes prepared earlier. To make them fit just right, we also thermoformed them to better match the hull form. Then we glued them in place with a thin putty. Some inserts also got additional reinforcement inside the hull with extra layers of glass to help resist high loads on rigging. I set some weights on the inserts while the putty set to squeeze out excess filler putty. As a result, the HD inserts are very fair with the rest of the hull.
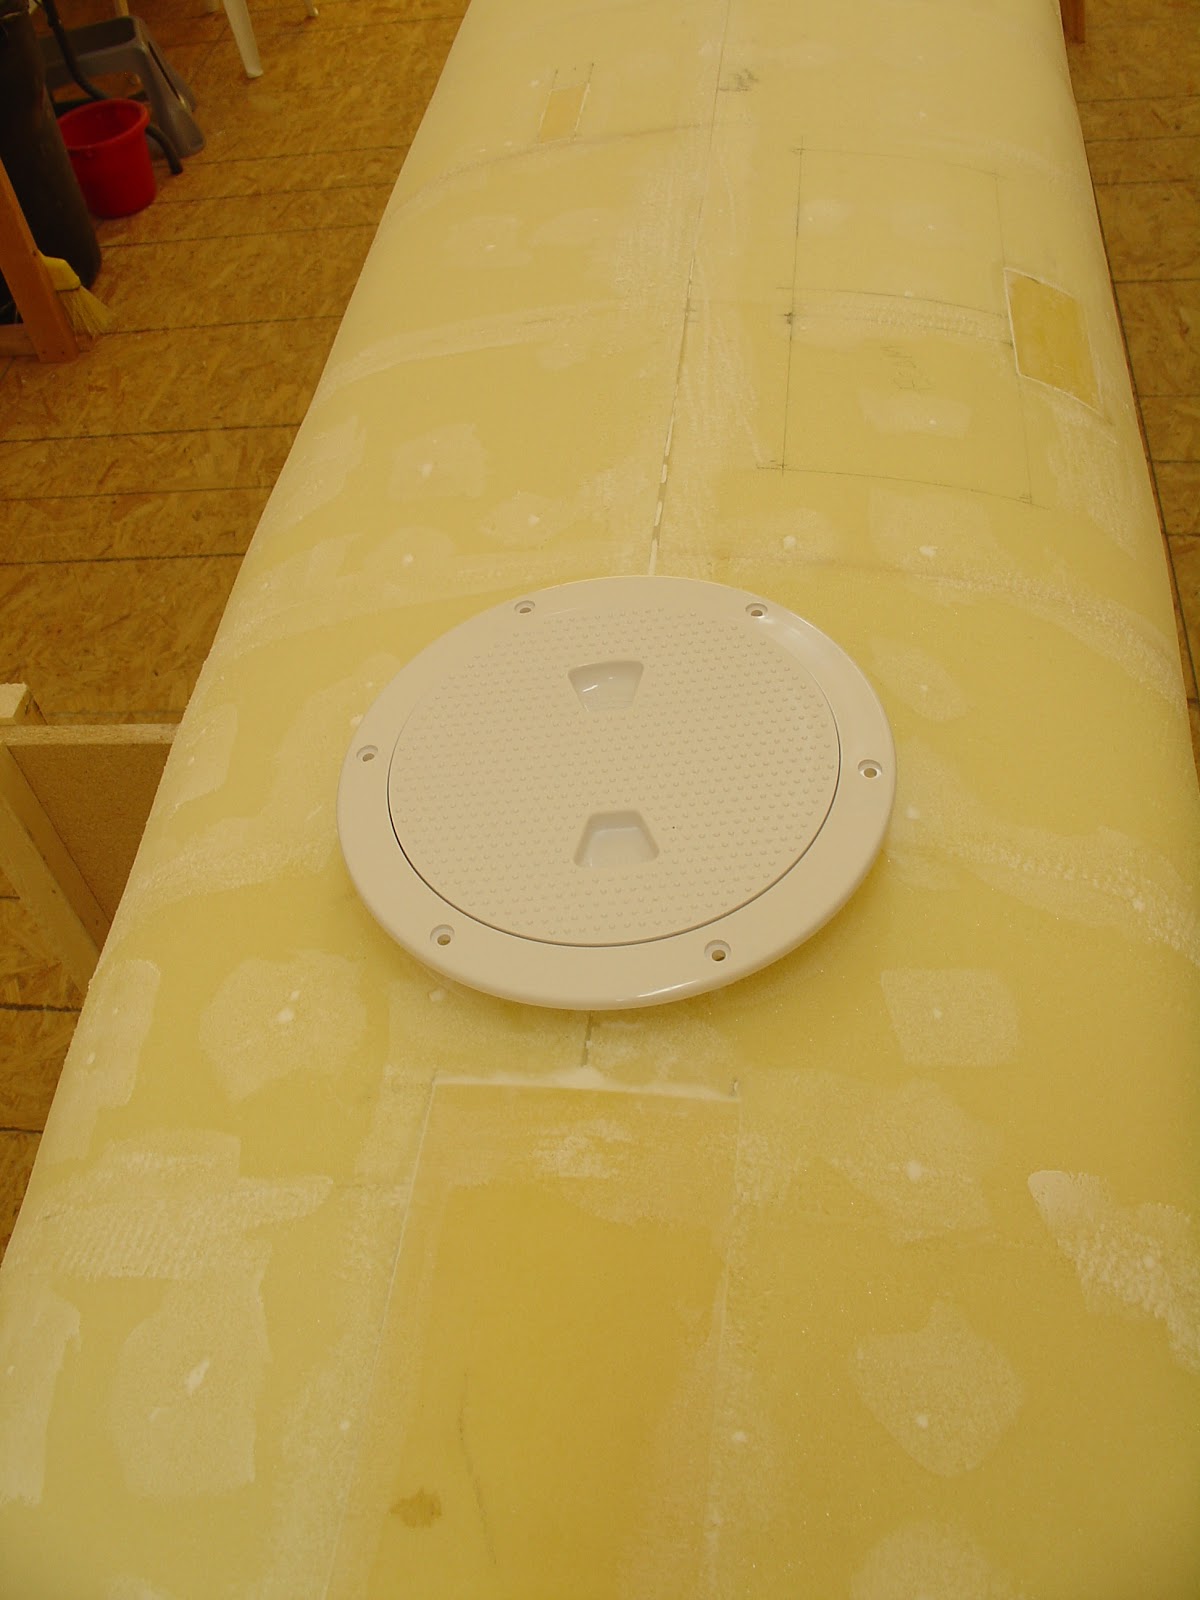
In the photo you might also notice the circular patch to the right. This is one of the access ports temporarily reinstalled. I figure it will be easier to get a continuous fair surface if we do the initial fairing with all of the holes closed up. So we are reinstalling the three round ports, deck hatch, and two temporary ports. The bow temporary port will be closed permanently once we finish work on the bow cap.
To hold the access hole cutouts in place while gluing, I simply screwed a couple wood plates to the outside surface. (These wood plates have really been useful, and definitely worth the 6 bucks I paid for a sheet of 1/4" ply.) Then I squeegee putty into a couple sections of the seam. Once the putty sets up, the screws are removed and the rest of the seam is patched. This is only a temporary reinstall for fairing, so no tape or more permanent reinforcing (though I bet these pieces would last forever just as they are).
Once fairing is complete, I will recut these ports for final prep for the Beckson deck plates. More on this later, but you can get a feel for what it will be like from the photo.


No comments:
Post a Comment